When I first got the SB Fold needlecase, I knew right then that I didn't want it to fold. I wanted it to lay flat to be able to see the full picture! A friend was curious how I was going to make it flat, so I told her I would take pictures of each step to help her get through if she wanted to finish hers like mine.
So.....here goes. First I mark and measure out 1/2" on the BACKSIDE of my stitching. This will be my sewing line. You will not see this on the right side of the fabric so don't be alarmed. I didn't have any excess fabric to cut away from the "sewing line" but if you did, you would measure out another 1/2" from your sewing line and cut that excess fabric away.


Lay on TOP of your finishing fabric, right sides together.

Now pin down and cut a piece to match the same size as the stitched piece.

Sew on the line you have marked for the top.

You can see that I use that slit in the sewing machine presser foot to follow my marked line.

Take your sewn piece and fold the seam AWAY from the stitched piece TOWARD the backside of what will be the needlecase. I iron it down to help make it stay flat.

Here is a suggestion. Use a light weight interfacing on the wrong side of your stitched piece and the backside of the lining. Then also use a piece of lightweight interfacing on the lining that you cut out as well. I realized this AFTER I had sewn the needlebook. I should have remembered to do that after sewing all these years. It will help give the finished needlebook a little more stability.
Lay your flattened needlecase, RIGHT SIDES together on top of the fabric. Pin down and cut out the lining of the needlecase.

Before I sewed the lining to the front of the needlecase, I wanted to make a scissor pocket for some small scissors. So I used the small scissors that Janet gave me as part of my birthday present this year because I didn't think I had small purple scissors and would need to order some. I also used the wool that came in the kit for a needleholder. I did cut the wool in 1/2, and pinned down on the left side of the inside lining. You need to sew on this wool and scissor pocket before sewing the lining to the front of the needlebook.

I did not have a pattern for a scissor pocket so I just measured how wide my little scissors were and cut a square out around it. That way I would know to fold in the edges for finishing. You will have to fold down the top right and left tips as they want to go above the top line of the pocket once folded. You can fingerpress them down and then use the pins to hold in place when sewing the pocket onto the lining.

Pin and sew the lining to the front of the needlebook. Turn inside out and make sure your corners are nice and straight. Janet told me about this wonderful little wooden gadget. Quilters use it and can be found in the notions section or quilting section at JoAnn Fabrics. WORD OF CAUTION: DON'T POKE TOO HARD or you will poke a hole in your project!!!!


After turning your needlecase inside out, you can whipstitch the opening closed. I was going to use the small button that came in the kit to use as a closure, but since I made my case to be wider and lay flat, I thought 2 small snaps in each lower corner would help keep it closed better.

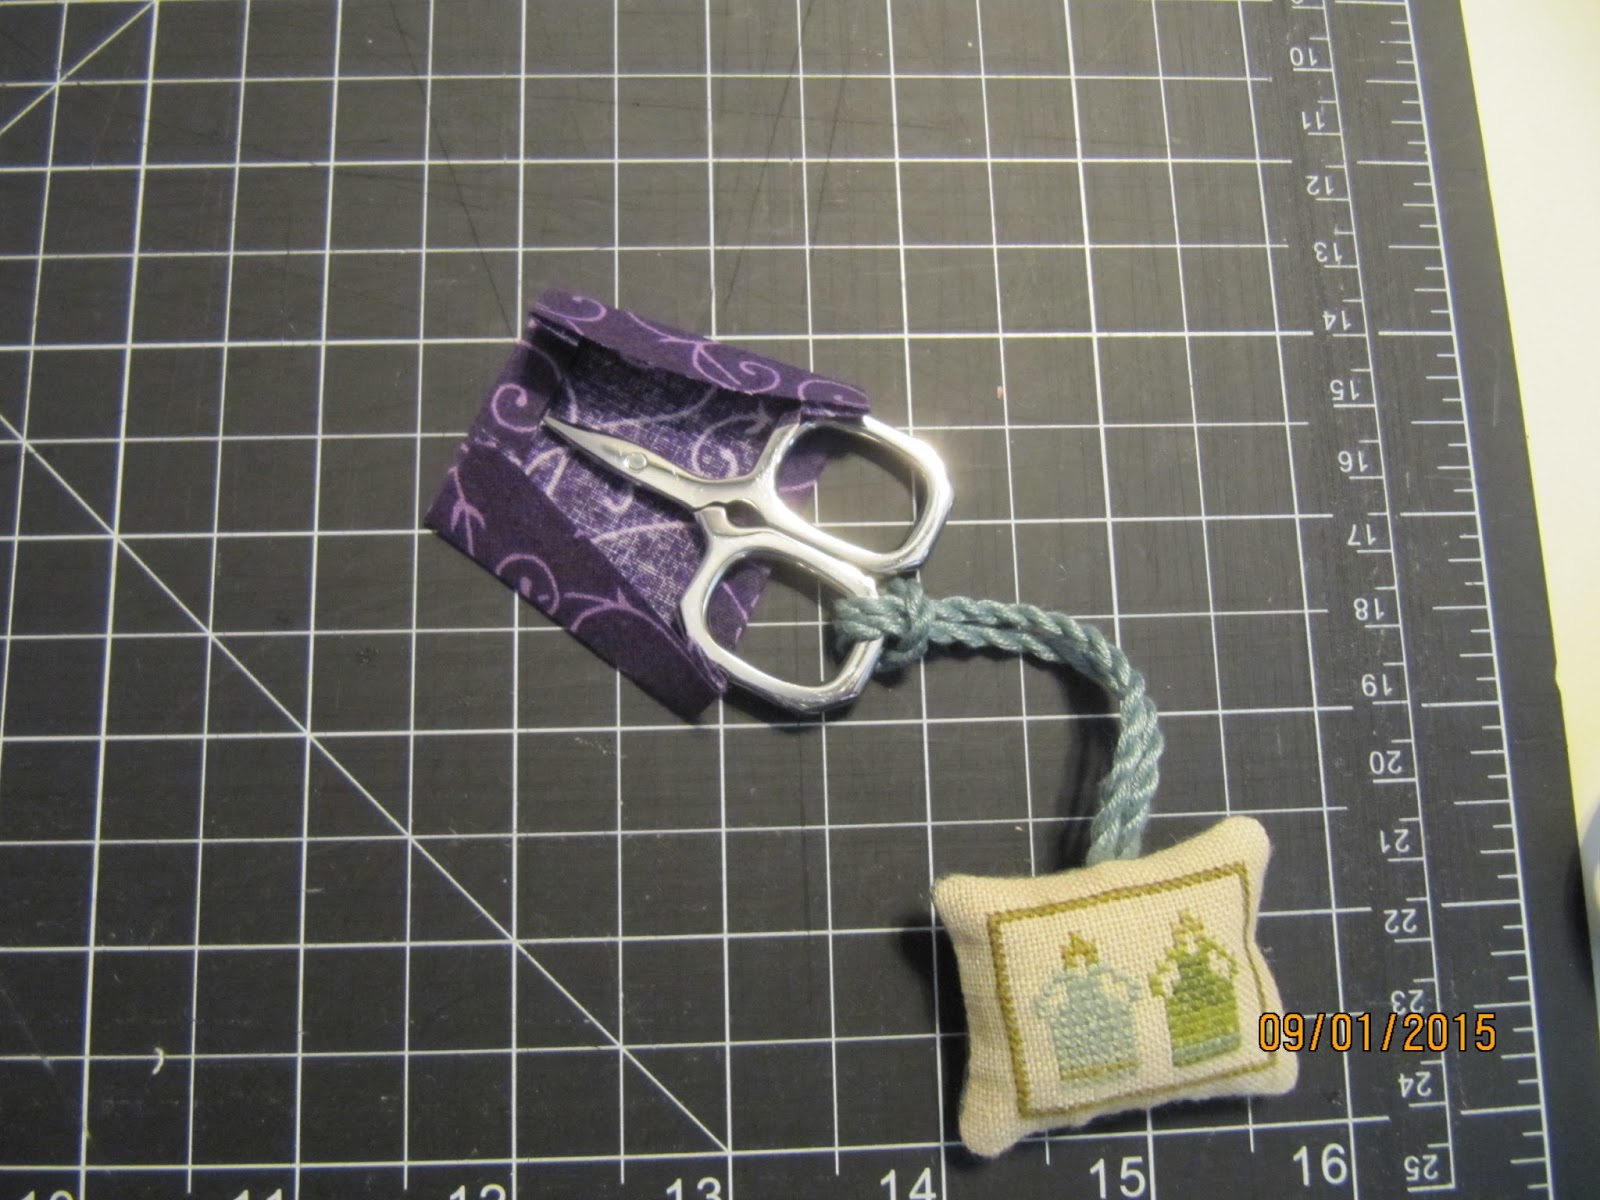
After I got this needlebook all sewn up, I happened to remember that I DID HAVE SMALL PURPLE SCISSORS!!!! I had originally bought them to attach to my SB Fold scissor fob but found bigger ones to attach to the fob. Now these small scissors have a perfect home inside the needlecase. I also attached a small ribbon just above the scissor pocket to keep my scissor from falling out. I did use fray check on the end and then I sewed a snap to both end of the ribbon. I did sew the ribbon on first before putting the bottom snap on. I also attach a needle threader to all my scissors with just DMC thread. It is tucked inside the pocket as well.

NOW......the final product!!!!! TA DA!!!! Outside and folded.

Inside laying flat.

Thank you for taking the time to read all of this, and I hope I haven't bored you with all my pictures. It was easier to just post the entire process than sending this many pictures to the people who wanted to know how I finished my needlecase.
HAPPY STITCHING!
Very cute! Thank you so much for the instructions!
ReplyDeleteWell done, Brenda! I really like your purple fabric. Where did you find it?
ReplyDeleteRobin in Virginia
Beautiful finish and a wonderful tutorial! Very easy to adapt to other stitchy patterns, and such a great gift idea :)
ReplyDeleteGreat tutorial and a lovely finish.
ReplyDelete